Archive Page 25

Tackling the porch

Since moving into our new abode in April 2014, one thing has remained constant: the front porch has been used as a storage space. And it’s been totally embarrassing. On Saturday morning, it looked like this:

IMG_1191[1]

Not pretty.

IMG_1192[1]

Yep, there were still moving boxes out there. And very icky carpeting. So, my task, which I chose to accept because I assigned it to myself, was to make the porch a usable, reasonable-looking space in one day’s time. And without spending any money (at least at this point, but I am coming for you, boob light number ten!). And by using as many of the materials found on the porch as possible in order to minimize having to move things into the basement. And to be unsentimental in tossing things that have been out there for more than a year and a half and out of use. Also, there were about 700 pictures out on the porch that needed to get up on the walls. A lot of them were things purchased or framed or gifted (or a combo of these) long ago that aren’t really my taste anymore (see: Renaissance art), but are perfectly decent pieces of artwork and deserve to have some wall space. At least for now. So, with all of that in mind, it was: ready, set, makeover!

The first order of business was to fix that God-forsaken nasty carpet situation. What on Earth was going on with that? It needed to be covered STAT. I realized that I was holding on to those carpet squares that had never quite worked out for us the first go round. In fact, you can see them in a pile in the picture above. I didn’t have any of the sticky stuff left to put the tiles together, but I wondered if I could just kinda place them together and hope for the best. About two seconds after having that thought, though, I realized that while we may not own the official sticky stuff, we surely had duct tape and that should work for this type of project, right? Why not?

IMG_1193[1]

Mollybear had to be talked into the checkerboard pattern, but once on board, she did a great job jumping on the tiles to secure the tape in place. I ended up a little bit short tile-wise, but I had decided I wanted to layer the space with another rug anyway (remember, minimize moving things into the basement!) so I put this yellow number up against the wall to cover the few inches of icky carpet that the tiles weren’t able to reach.

IMG_1199[1]

This is a chair that we bought in Richmond that I’ve been unsuccessfully trying to sell on Craigslist, but I’m now happy has ended up still in our house. That little blue blanket on the arm is covering a puncture wound inflicted by one dog or another (not Gracie, I’m sure) and is actually Bear’s first stroller blanket and I’m not too keen to get rid of it. Two Wisconsin Film Fest pictures are poorly framed and hung too close together on the wall, but look here, folks. There are things on the wall! Let’s remember the point of this project, ok? Getting things off the floor and onto the walls! IMG_1195[1]

Looking from the other direction shows the firewood bin that we bought at the antique store between dogs. It made for a fun toy bin (I painted it) for about two seconds before Gertie and then Phoebe showed up. For now, it is housing a printer and a bunch of paper and other miscellaneous-crap-I-don’t-know-what-to-do-with-but-is-stored-nicely-in-that-chevron-bin.

IMG_1206[1]

This is my grandma’s one-thousand pound vanity. Some of the drawers are a colossal pain to open. I have moved this thing way way WAY too many times. Maybe M-Bear will want it someday. For the foreseeable future, though, it’s going to be in this corner of the porch, housing some cords in that lower left-hand drawer and some sandwich cutters in interesting shapes in the upper right (note to Kate: if you forget where those cut-outs are, you put them right there).

It’s not going to win me a show on HGTV, but I’m pretty psyched that the porch is cleaned out and the space is usable and the carpet is covered. Phew.

IMG_1203[1]

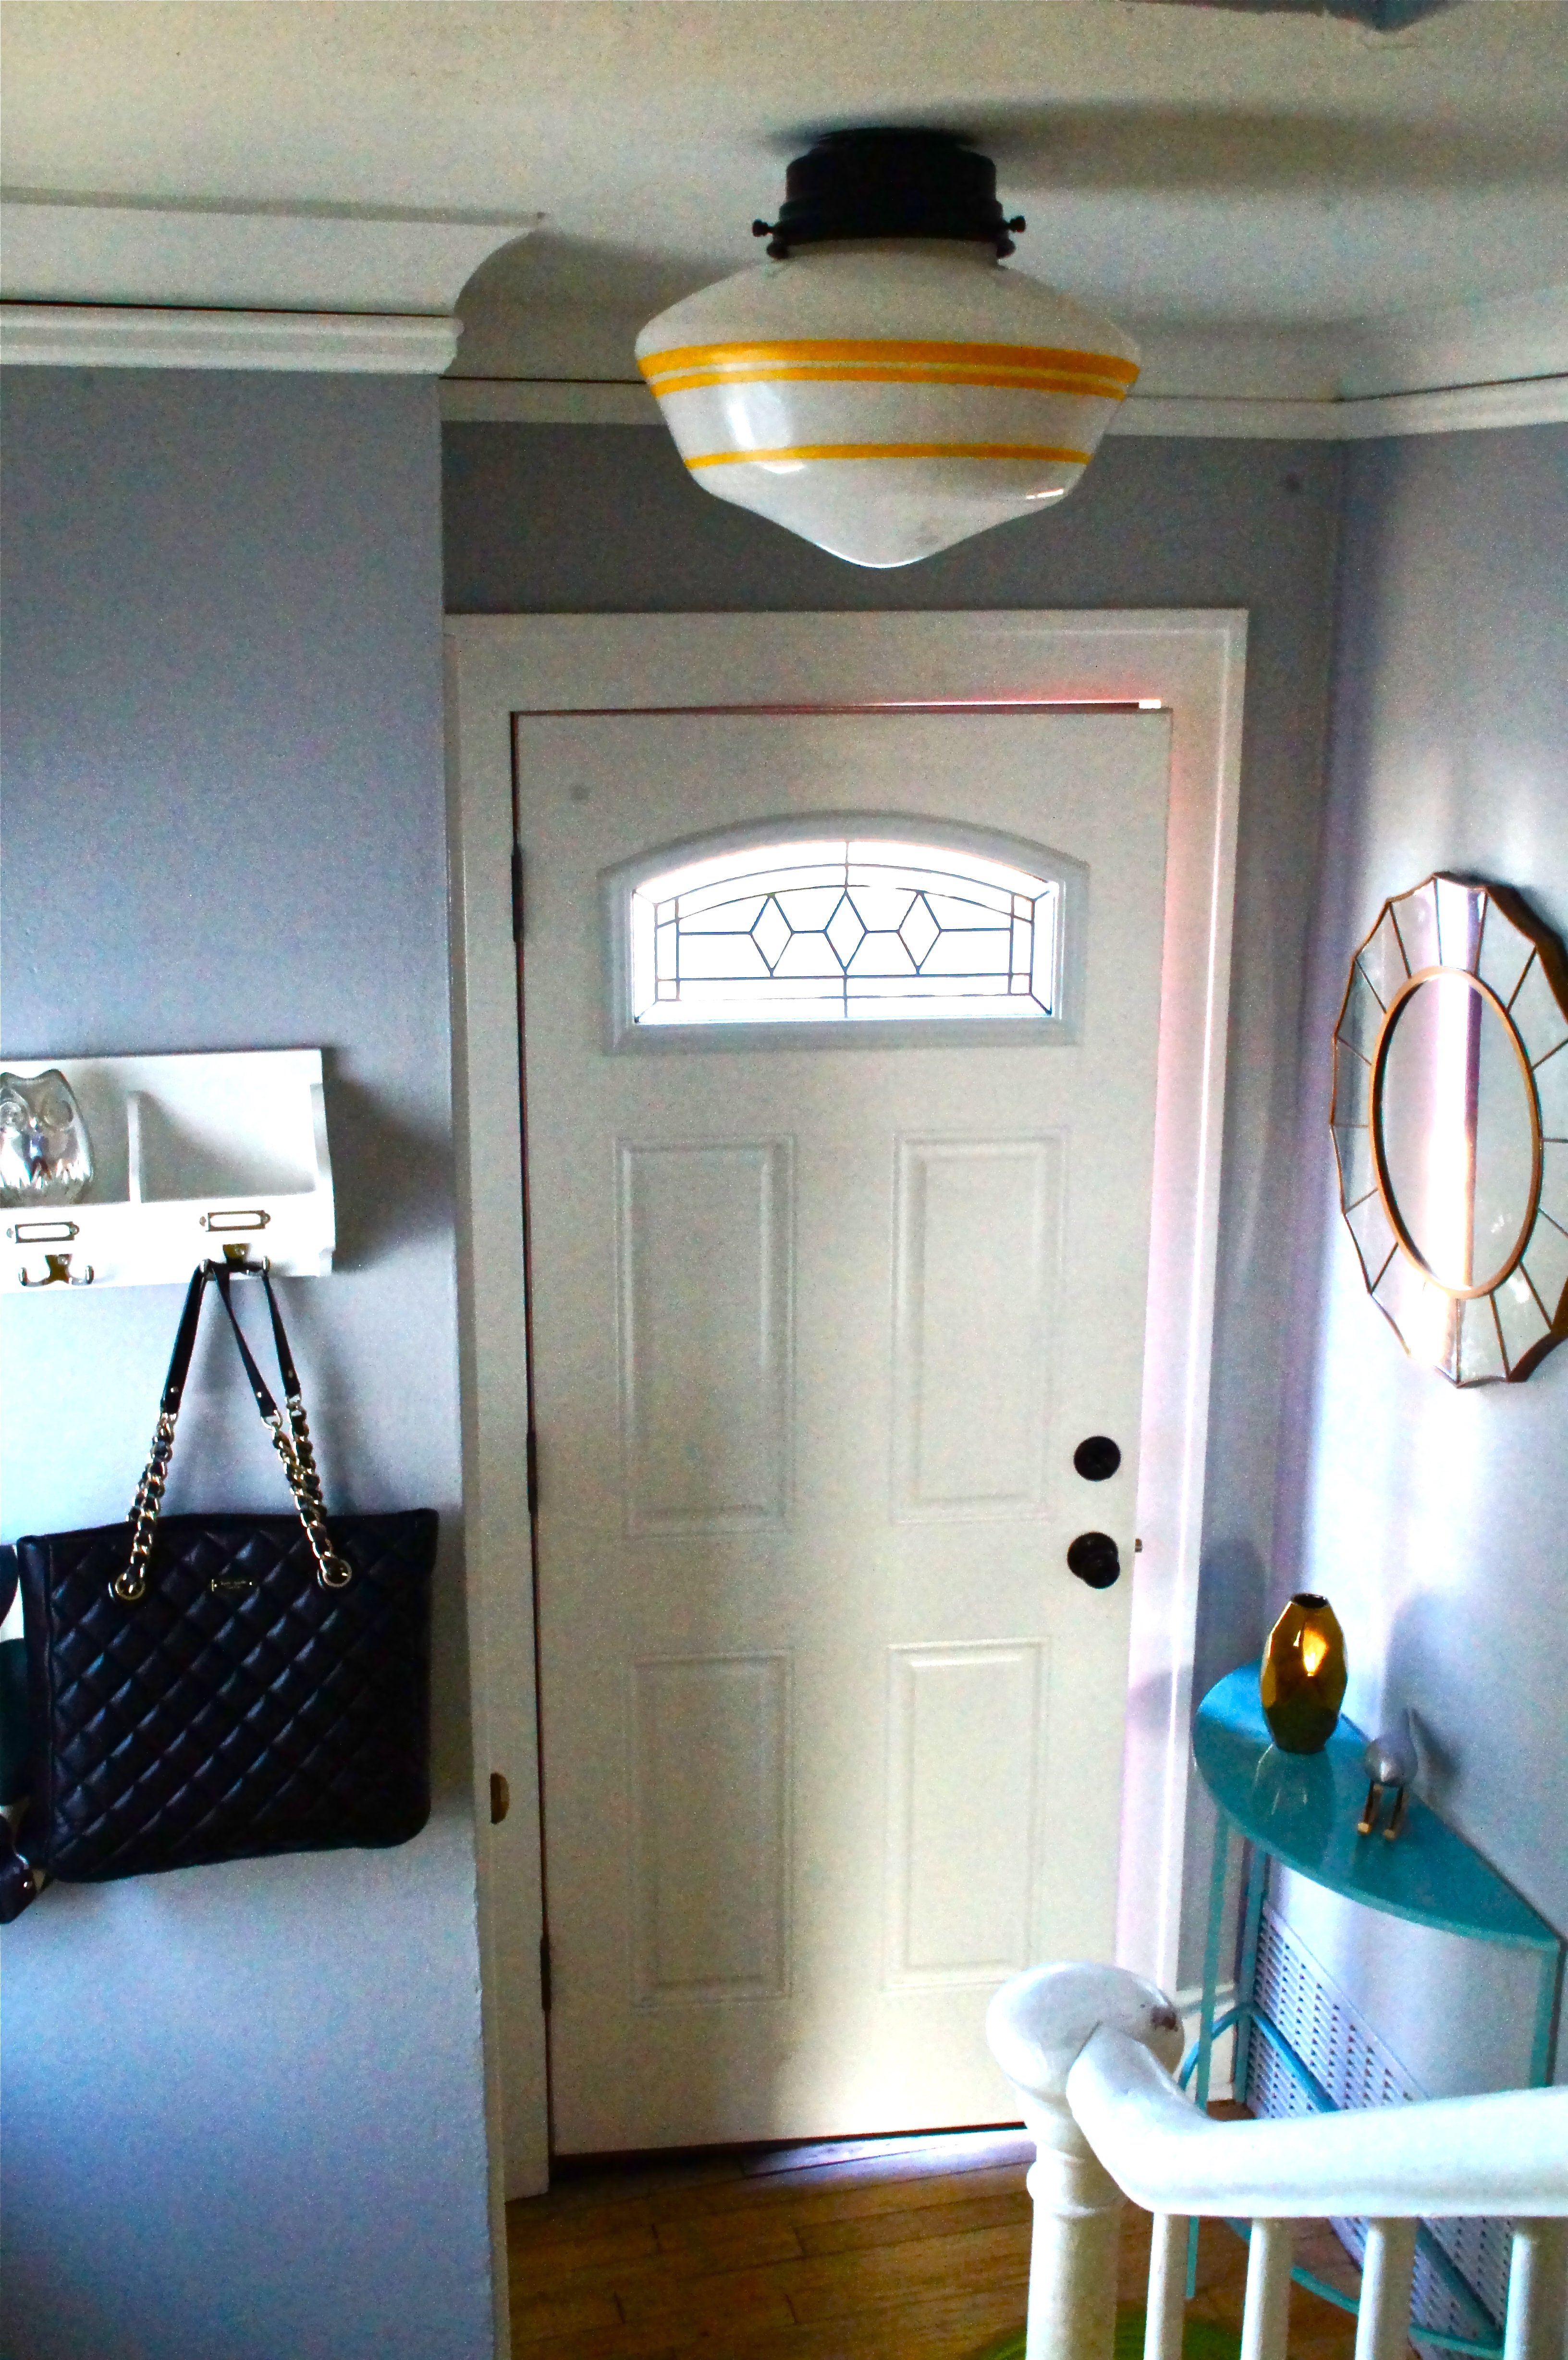
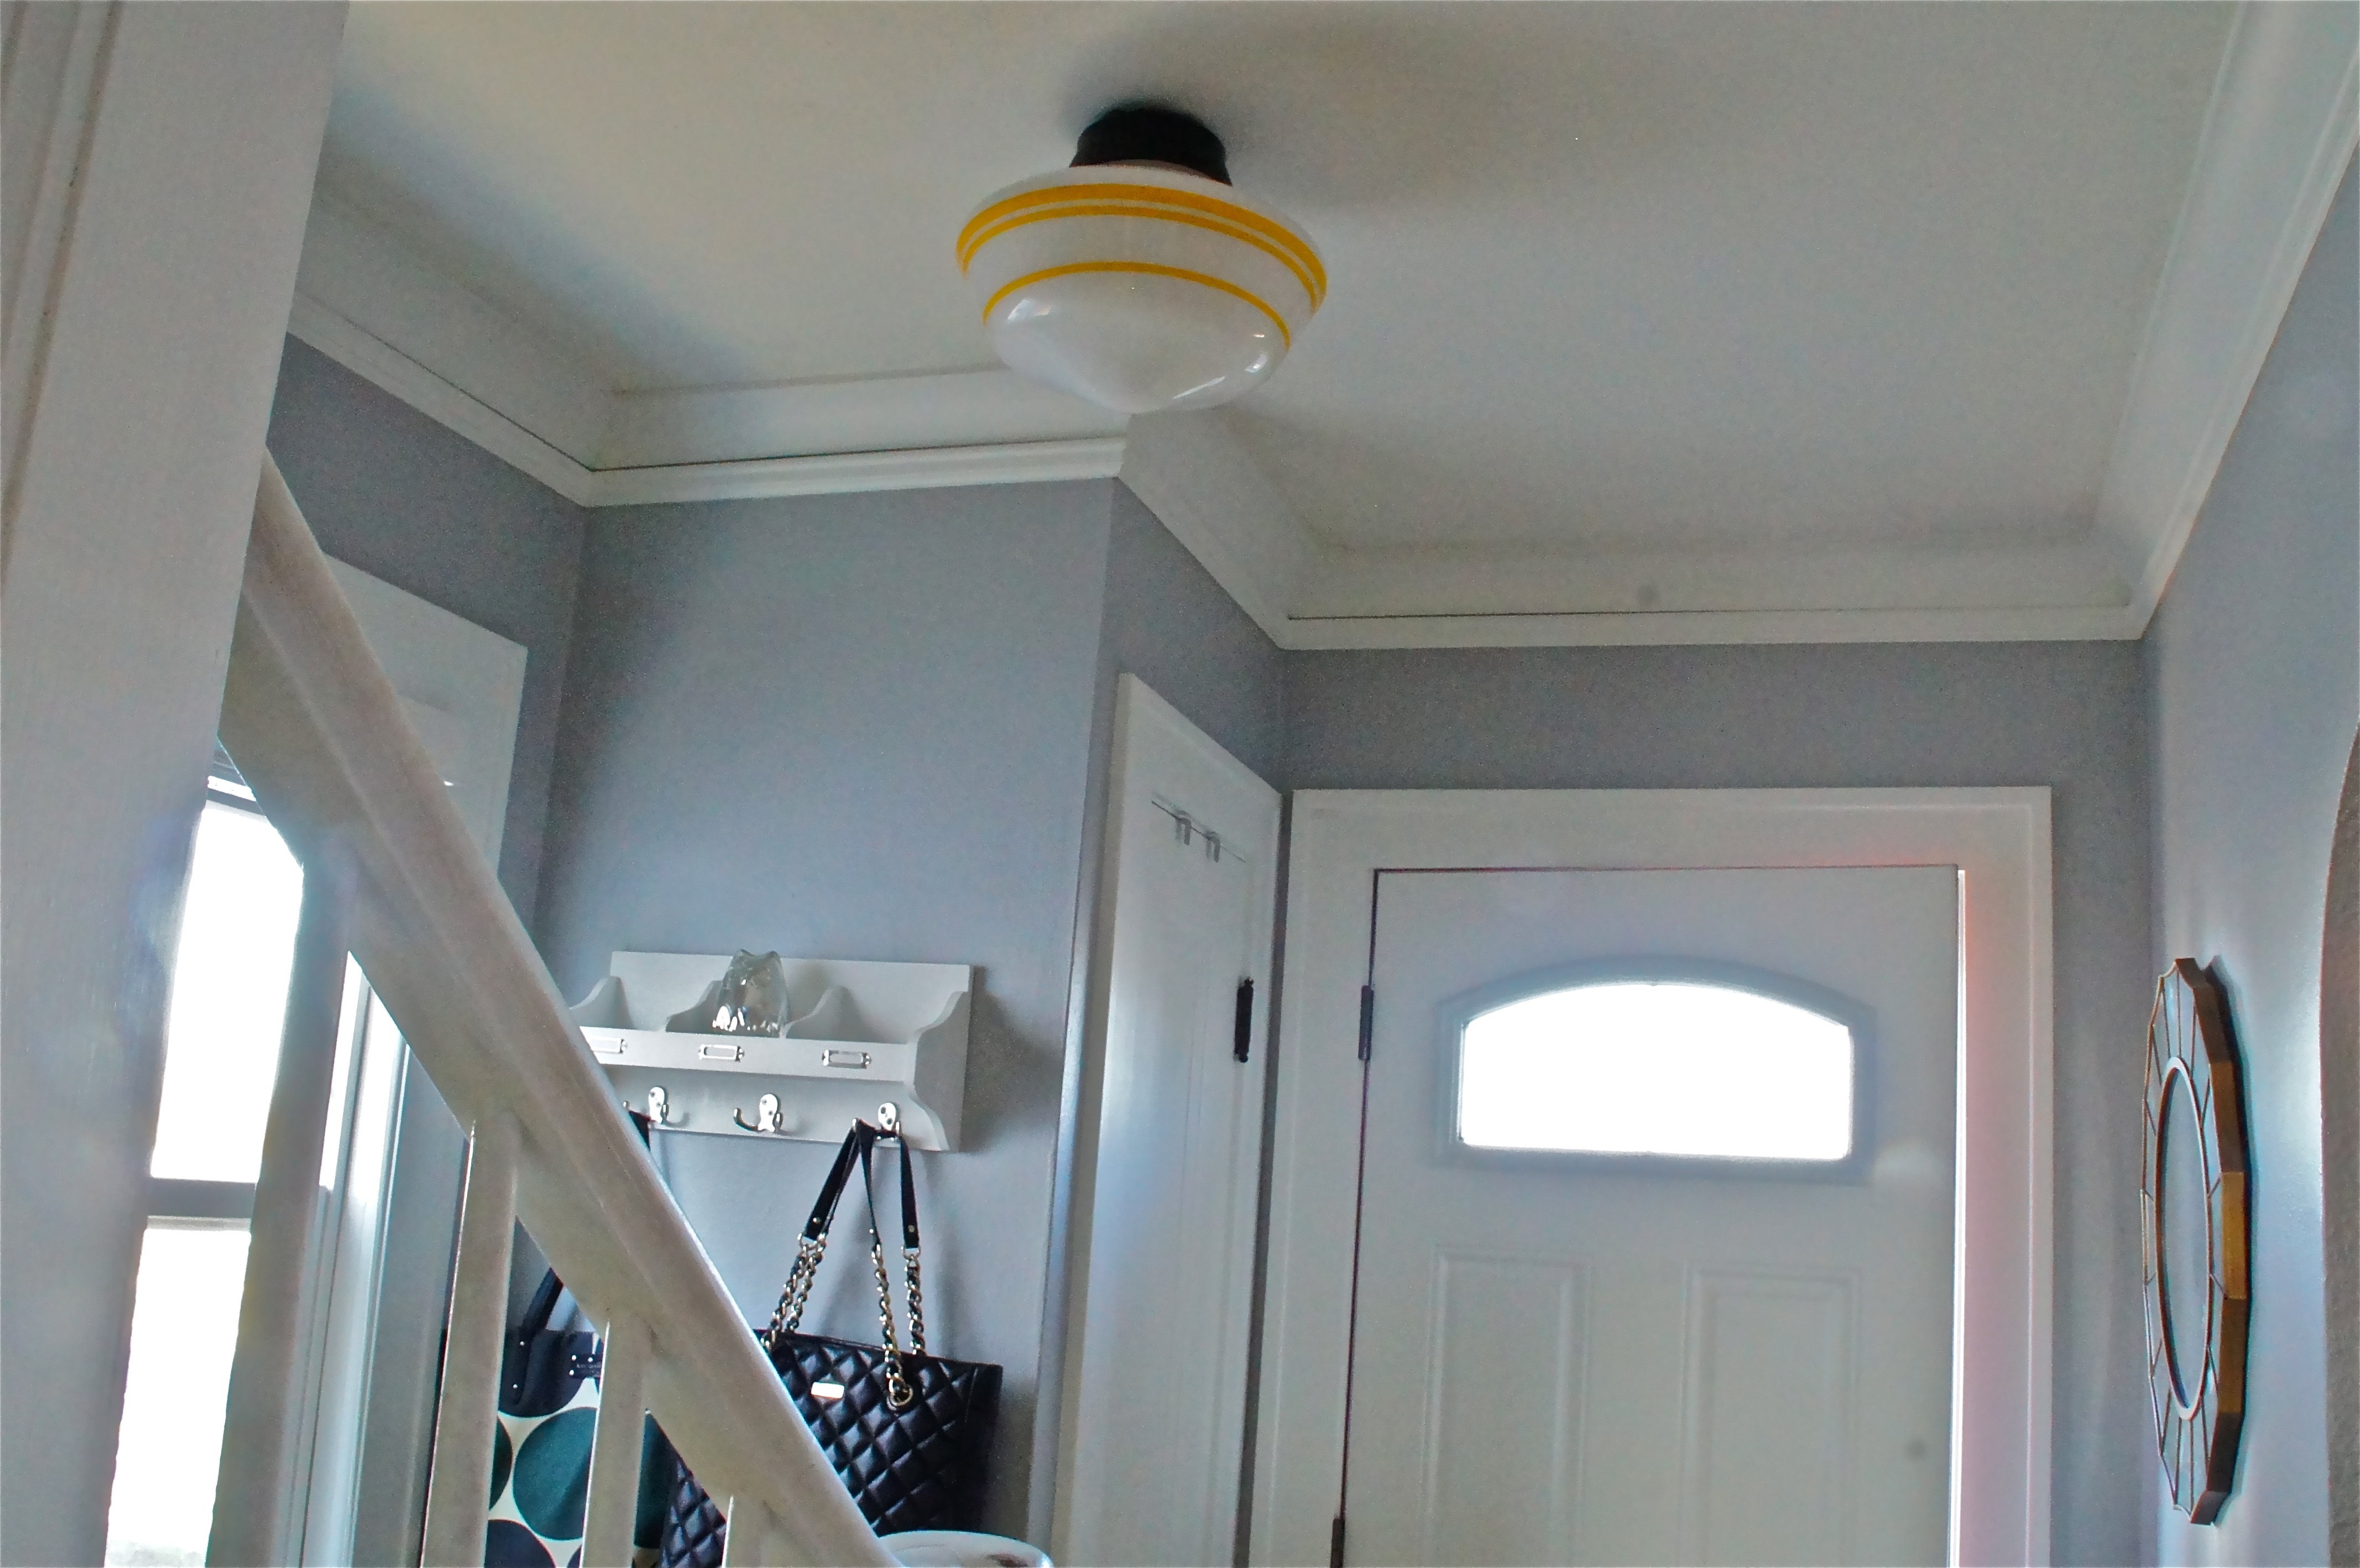
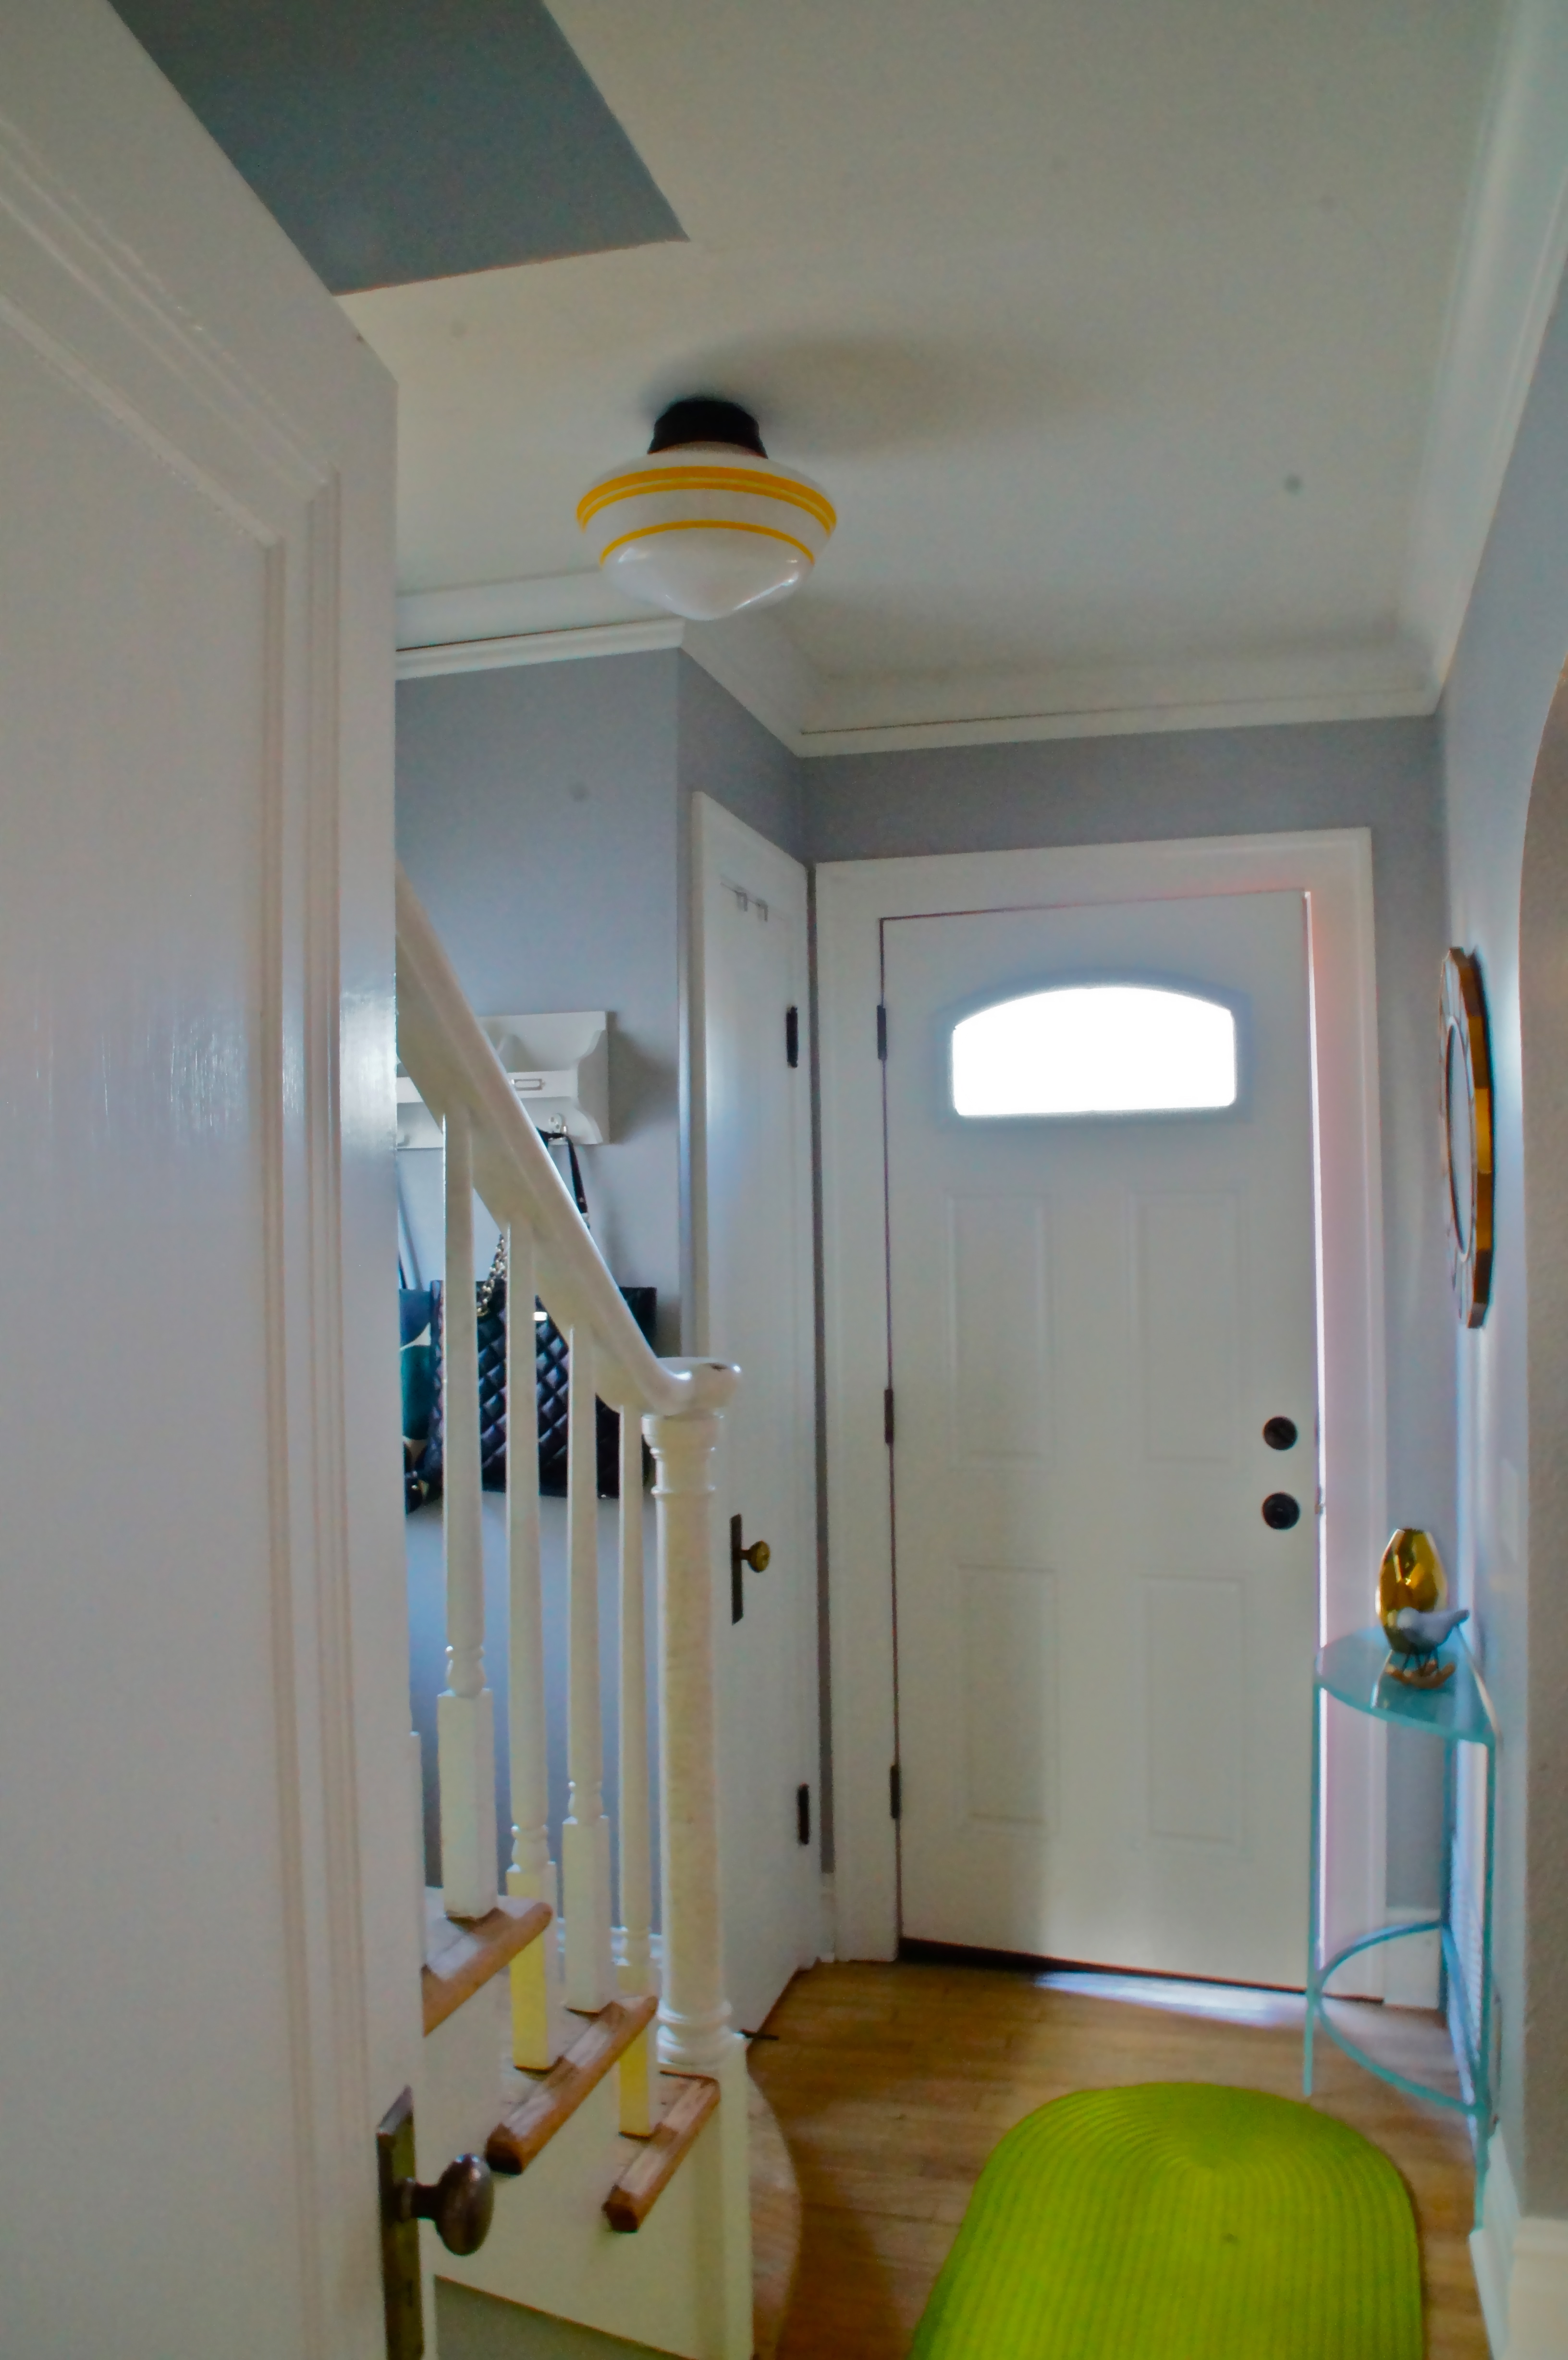
And now, about that boob light…

IMG_1204[1]

Ode to a light (in natural light)

I don’t think my previous post on our new Barn Light Electric schoolhouse light was doing it justice, so the light and I sat down for a photo shoot this morning with the bright November sun streaming through the windows. It still proved to be a bit of a challenge because (a) the space is small and (b) I’m not much of a photographer, but I think the results are better than the last go-round and I feel that I’ve done my part to show her in a better light. Ha.

SONY DSC

What does this photo have to do with anything? Not much. In fact, it was taken before the photo shoot I referenced. Just seeing if you’re paying attention.

SONY DSC

Ah, here she is. The beautiful Rudimentary Schoolhouse Flush Mount Light in the large size with a triple band in buttery yellow and a black base. It seems somewhat rude to call it rudimentary, but it is simple and classic so there you go.

Yeah, I think the red door is not a good match for the yellow, either, but that change is for another day.

As you may know, our old place was full of color all over the walls. In our new place, I’m experimenting with a neutral gray on the walls (totally unusual for me) and then playing with pops of color. Lots of pops. I’m also looking to expand into wallpaper. Watch out.

It’s not a very big foyer, and I need to figure out how to cute-i-fy it a little more, but this light is doing a lot of the heavy lifting and I’m really grateful.

I think I’m in love

A couple of my friends had been prattling on about Stitch Fix* for some time and I’d listen, look at their pictures, look at the site, ignore it, look at the site again, ignore it and then finally I bit the bullet in a moment of total frustration with my clothes and signed up for a shipment. Why not? What was there to lose? I thought. My first fix came this Wednesday and I think I’m still glowing. I’m seriously sitting straighter in my chair today because the new dress I’m wearing deserves it. I’ll spare you the details on how it works, because it’s explained on the site, and if you have questions, you can feel free to ask me, but I just want to ask, WHY DID I WAIT SO LONG?!?! This. Is. Amazing. Yes, I wish the clothes were made here, stateside. But pretty much nothing I buy clothes-wise is, so nothing has changed on that point. And yes, it’s not supporting the local economy, but I wasn’t doing that with my wardrobe-buying either. So essentially I already was an immoral clothes shopper before Stitch Fix. An immoral clothes shopper who was unhappy with her clothes. And now!? Well, basically, this may be the best thing that has ever happened to me and my wardrobe. Except for maybe that awesome prom dress I rented in 1993. But that doesn’t count, does it? because it was rented. So it never really was part of my wardrobe. So there you have it. I rest my case. Stitch Fix for president of wardrobes across the land!

PS – I think Aaron is going to try Trunk Club!

*Full disclosure: that link is my referral link, so I get $25 towards my next fix if you sign up through it. I’ll buy you a drink if you go this route. And we can talk about our clothes. Or whatever you want. Or our clothes.

Uh, oops! 

This morning I had a wee bit of a parenting fail. I went to bed last night with a head cold, sleeping with a big box of Kleenex and dirty tissues hidden under the covers so Phoebe wouldn’t eat them. At some point, I heard Molly yelling, and I stumbled out of bed. I grabbed my glasses, feeling as if I were coming out of a deep slumber. It was really dark out and I was pretty annoyed. Why, oh why, was she up so early?! I went into her bedroom and asked her what was wrong. She told me that her nightlight wasn’t on. True, but her closet light was on, as was an owl light that glows over her bed. Still, I flicked on the nightlight for her. I tried to tuck her back under the covers. She told me she was hungry. I said, “Molly, it’s the middle of the night. You can have breakfast in the morning.” She begged me, “But, Mommy, I’m really, really hungry!” “Molly, I understand,” I said, “but no, it’s really dark out. It’s nighttime; time for sleep.”

Let me pause here. Sometimes we cave at these moments, which don’t come often, and bring her a snack. Sometimes she eats it and sometimes she doesn’t. It’s so hard to know if she’s really hungry. If she is, I don’t want her starving. But as she gets older, I think she’s saying it more to see what she can get from us, stall on things like bedtime or just use it as something to say. And just yesterday I was reading yet another article about how age-appropriate it is for three-year-olds to push like this and how it’s parents’ responsibility to say no so that kids learn limits and boundaries and how to ask for things. And a couple of days before, she’d woken up too early and asked AO to bring her scissors and he complied. And then she asked for some other art supply later, and again he complied. So this, too, was on my mind. I was trying to set boundaries! Like Olivia with her brother, Ian, I was going to be firm.

Back to the scene.

This push-pull went on for a bit. Not too long because, as I said, I was determined to be firm! “Molly, it’s the middle of the night. It’s not ok to get up yet. If you go back to bed right now, we can stop at the cookie store tonight.” [The cookie store is the co-op where she likes to get these delicious vegan lemon blueberry cookies. And yes, T, though they’re vegan, they’re quite tasty.] I know, shameless bribe. But it was the middle of the night! “Otay!” she said, and snuggled in. I said, “Ok, thank you, sweetie. I love you. Now, no more yelling or screaming. Get some more sleep.” And then I left and closed the door. As soon as I did, I heard, “Mommy!!” Ugh! I. Had. Had. It. I opened the door and said, “No!!!” And then I walked back to our bedroom.

For the first time, I saw the clock. 6:56 a.m.

Oops.

A first for life and pups! A guest post!

This post is long overdue (because I’m slow), so without further ado, here is a compelling and instructive post from the GAOOG on her recent experience with the coolest of the cool, removable wallpaper.

***

Hello all!! Thank you to the brilliant, and my favorite, designer, Kate, for inviting me to do a guest post on her blog!!

This post has been a long-time coming as this DIY project unfortunately took much longer than it should have to finish. Should you decide to take on a project like it, I hope my mistakes make your experience much easier!

We live in a two-bedroom apartment that was built in 1982, a real pinnacle moment in time for design, wouldn’t you agree? Sigh. So much brass and mirrored-glass. Because we rent, any changes I make have to be temporary and cannot cause damage. I’ve been able to do a modicum of updating through furniture, art and organization, but there are some things that require a lot more magic (see: all that brass and mirrored glass). One of the biggest sources of my frustration was a wet bar in our living room. It had a smoky mirror behind it and smoky glass shelves. It was rather dark and depressing and the uselessly dim recessed light above it did not help.

image1

I googled options for covering up mirrored walls, and scoured Houzz, Apartment Therapy and various sites that might address this issue. Painting the glass wasn’t an option because I needed something removable. I considered chalkboard tiles but found nothing that was suitable and, let’s be honest, they wouldn’t have looked right with the tiles and the wet bar.

I sought the help of my previously-mentioned favorite design expert, Kate. She suggested removable wallpaper, and sent me to Chasing Paper! Genius! Thank you, Kate! Within hours I’d ordered an adorable pattern that would go swimmingly with the 80’s wet bar! Huh. That’s a sentence I never thought I’d say.

Now, here’s where things get sticky. Pun intended. 🙂

My first mistake: I did the math wrong and ordered only two sheets, when in fact I needed three. This is very much a me-mistake and I’m confident none of you would do the same. I soon realized my error and ordered the third. Obviously I was annoyed with myself because I unnecessarily paid twice for shipping, but this is not worth getting hung up on. Moving on.

After what seemed like an eternity, we finally had all three sheets! Hooray!

That’s when we realized what our next hurdle would be – cutting the paper to size. Now, when putting it up on walls most people clearly just stick it up and then once it’s up, cut it. JB thought we could do that, too, but we didn’t want to stick it up without knowing if that would work, and we could not risk cutting the glass. We tried it once, using the brackets for leverage, but getting the X-acto knife through both the wallpaper and the removable backing, while also getting a nice clean line, proved to be a nightmare. I suggested that we instead cut the two-ply sheet with a piece of cardboard underneath it. That way the knife would have something to stick through and we’d have better leverage on the floor. JB was hesitant, but we tried it and lo and behold! It worked beautifully!

image1 (1)

As you see in the photo, we used the glass shelves to make sure that we cut straight. They were weighted and the perfect length so, win-win. Once we got the first strip cut, we faced our next hurdle, sticking the piece up on the mirror. I hadn’t realized how challenging this could be because the Chasing Paper video made it seem so delightfully simple! Lies. Sticking it up on the mirror and getting it to line up right without bubbling was neither delightful, nor simple. Our first few attempts were disastrous. JB held the top of the paper as taut as possible while I tried to smooth it on the mirror from the bottom up. No matter what, the paper bubbled. I wished we had a tool like a cake-batter scraper. Wait! Why not use a cake-batter scraper? I grabbed our rubber dish scraper (clean, of course) and used it to smooth out the bubbles little by little. It worked like a charm! Though all of our arms were exhausted by the end.

image1 (2)

We worked our way through the right side piece in the same fashion. We then sadly realized our middle piece was cut wrong; the pattern didn’t match up. Alas. We’d have to order yet another piece. Ugh. More shipping costs. In the meantime we still were able to cut the top side pieces to match, so we went ahead and did that. We’d at least had the forethought to hide the seam under the top shelf so we had a little leeway with the matchup of the patterns if we needed. Luckily those two pieces matched nicely and went up easily because they were so small. Finally we got something right!

Next, we waited. Again.

image3

By the time the piece arrived, the wait had actually ended up being a welcome one. I think we needed a breather — for the sake of our marriage, as well as our arms. When the piece arrived, we laid it out, brought out the cardboard and got to cutting. As this piece was the biggest and required intense matching up on both sides, it proved to be the hardest to get up. It was difficult to get it aligned and to keep it straight all the way to the top. It tended to veer off course easily and, once again, keeping out those damn bubbles was trying! Sadly, it took us about three times and I had no new tricks to try. In the end, slow and steady won the race. That, and a lot of finagling with the dish scraper.

image2

The small top, middle portion was our last bit and not terribly hard due to its size. Voila! Three weeks and some change after the idea began … we finally had a beautiful, bright, mirror-less wet bar!!!

image3 (1)

Now, if only I could paint those tiles, and the cabinets, and change the fixture… Someday!